







After building kits across every scene category in our lineup, the greenhouse and botanical formats are the ones that most consistently surprise first-time builders — both in what the build involves and in how the finished piece reads on a shelf. The materials are different, the sequence has specific constraints that a standard house kit doesn’t, and the result is visually unlike anything else in the miniature category.
This guide covers what to expect, how to choose between the scene formats, and what the build actually requires — so you start with the right kit for your shelf and your patience level.
What “Miniature Greenhouse Kit” Actually Means (And What to Expect)
A miniature greenhouse kit is a DIY assembly kit that builds a small-scale botanical scene — typically featuring transparent or semi-transparent panel construction, plant and foliage detail elements, and LED lighting. It is not a kit for growing real plants. The “greenhouse” refers to the architectural and aesthetic reference, not a functional growing structure.
The distinction matters because the buyer intent for this search splits in two directions: people looking for a small real greenhouse for seedlings, and people looking for a crafted display piece. This guide is entirely for the second group.
What you’re building is a scene — a composed miniature world with a botanical subject. The transparency of the panel construction, the layering of artificial plant materials, and the LED light filtering through those surfaces are what make the greenhouse aesthetic distinct from a standard miniature house kit. You’re not just building walls and furniture. You’re building a particular quality of light.
The specific build challenge in the greenhouse category is one that doesn’t come up in any other format: the wire and copper-element shaping steps. Greenhouse kits typically include copper or metal wire for creating plant tendrils, iron decorative elements, or structural plant-support details. These need to be bent to a precise angle before installation, and unlike wood or paper, wire doesn’t tolerate correction — bend it twice at the same point and it weakens and eventually snaps.
In testing a greenhouse scene, there’s often a step where a thin copper wire — around 0.3mm diameter — needs to hold a specific curve to form a decorative arch or plant support. The right approach is to use two reference images: one from the front, one from the side. With both views, you can confirm the angle before committing. A single instruction image at this step will get you close but not exact. This is the kind of step where reading the instruction sequence one step ahead makes a meaningful difference.
Browse all Floral & Nature Kits →
The Three Scene Formats — How They’re Different
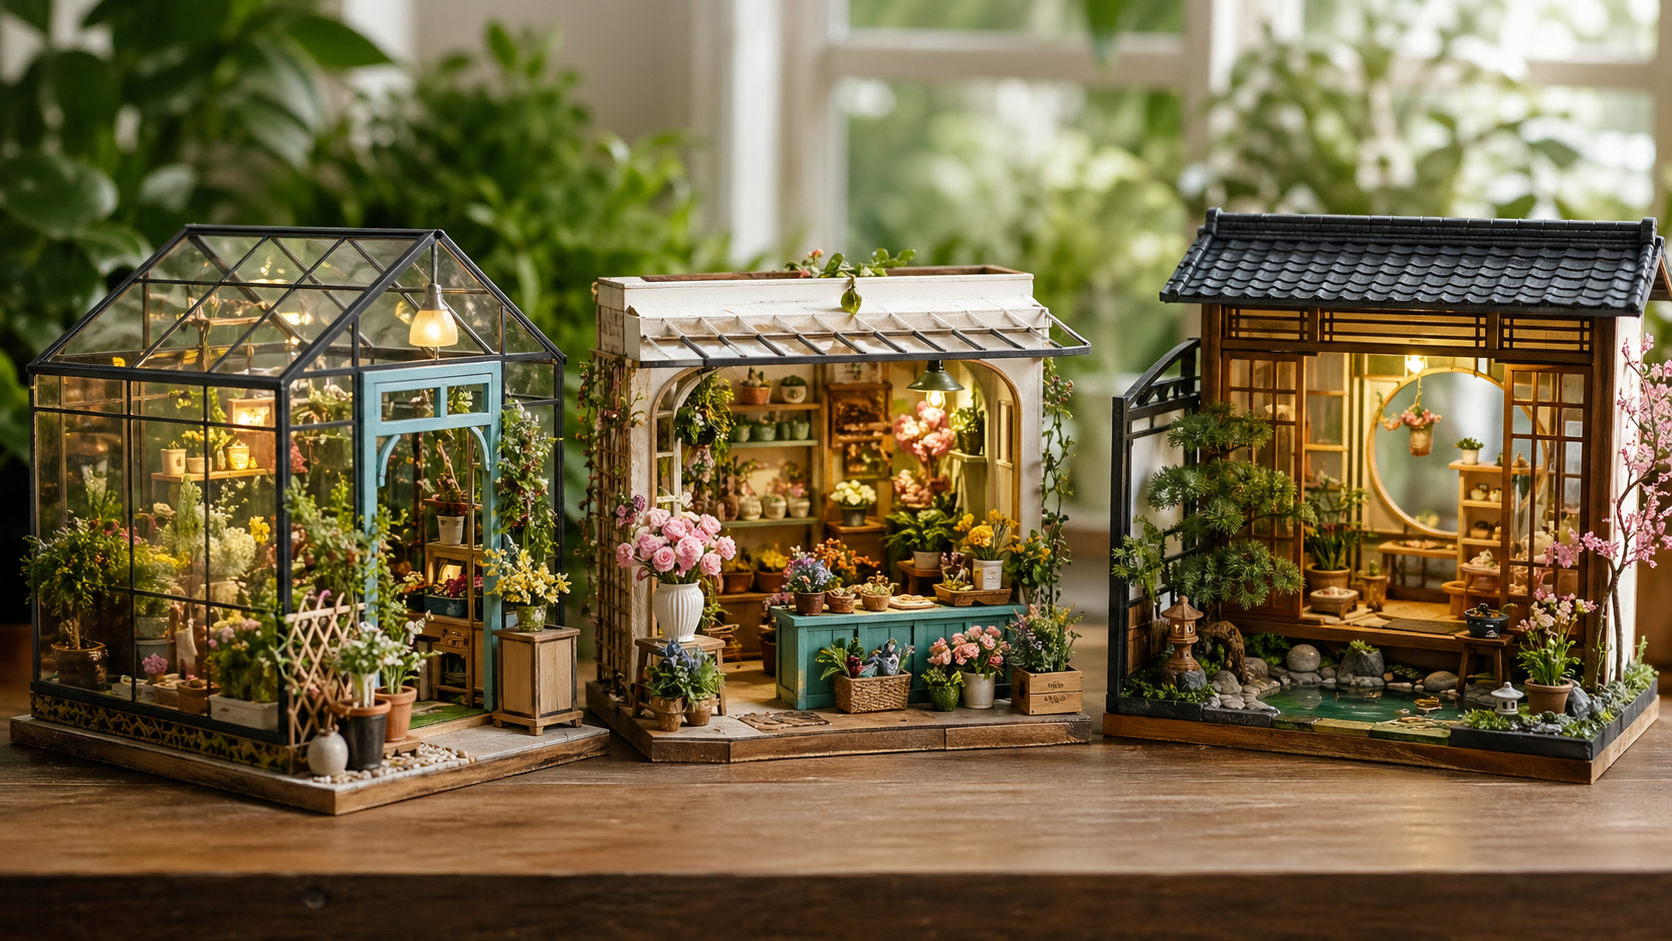
Botanical miniature kits in this category divide into three distinct formats. They share an aesthetic family but build differently and display differently.
Format 1: Transparent Panel Greenhouse The defining material is clear PET or acrylic panels — the structural walls are see-through. Light enters the scene from multiple angles, including through the “glass” panels, which creates a different visual quality from wood-walled kits. The LED reads warmer and more diffused. The build sequence requires peeling protective film from panel surfaces before assembly — this step is easy to forget and hard to undo cleanly if done out of order. Best display context: near a window or in a naturally lit room. The ambient light interaction is part of the visual effect.
Format 2: Flower Shop / Botanical Storefront A two-story or single-story shop exterior, with botanical inventory detail on shelves, hanging displays, and window arrangements. The “greenhouse” quality here is atmospheric rather than structural — the scene reads botanical because of the foliage and flower elements, not because of transparent walls. Primarily wood-and-paper construction with faux botanical scatter materials. Best display context: shelf or desk, works in any lighting condition.
Format 3: Japanese Conservatory / Garden Diorama A terrain-based botanical scene — stone paths, water elements, sakura scatter, and Japanese architectural framing. This format requires the most material handling variety: wood structure, stone-path texture pieces, scatter materials like cherry blossom and moss, and wire botanical details. The result is the most spatially complex of the three, and the most time-intensive. Best display context: dedicated desk surface or shelf, where the ground terrain can be viewed at close to eye level.
Greenhouse vs Flower Shop vs Japanese Conservatory — Which One?
Three questions that direct the choice:
- Where will it live? Between books on a shelf → the Floral Greenhouse Book Nook (shelf-insert format). On a desk or dedicated surface → any of the freestanding formats. Height-constrained shelf → the flower shop vertical format.
- How long do you want to build? 5–8 hours is the Intermediate range (flower shop, floral greenhouse book nook). 9–15 hours is the Advanced range (Japanese Conservatory, terrain-heavy diorama). The Advanced builds reward patience; they aren’t harder per step, they have more steps with more varied material types.
- What’s the aesthetic context? If your shelf already has real plants nearby, the transparent panel greenhouse and the botanical storefront both interact well with that context. The Japanese conservatory is a complete world unto itself — it doesn’t need surrounding context to read clearly, which makes it suitable for a desk with no other decorative elements.
The Kits — By Scene Format
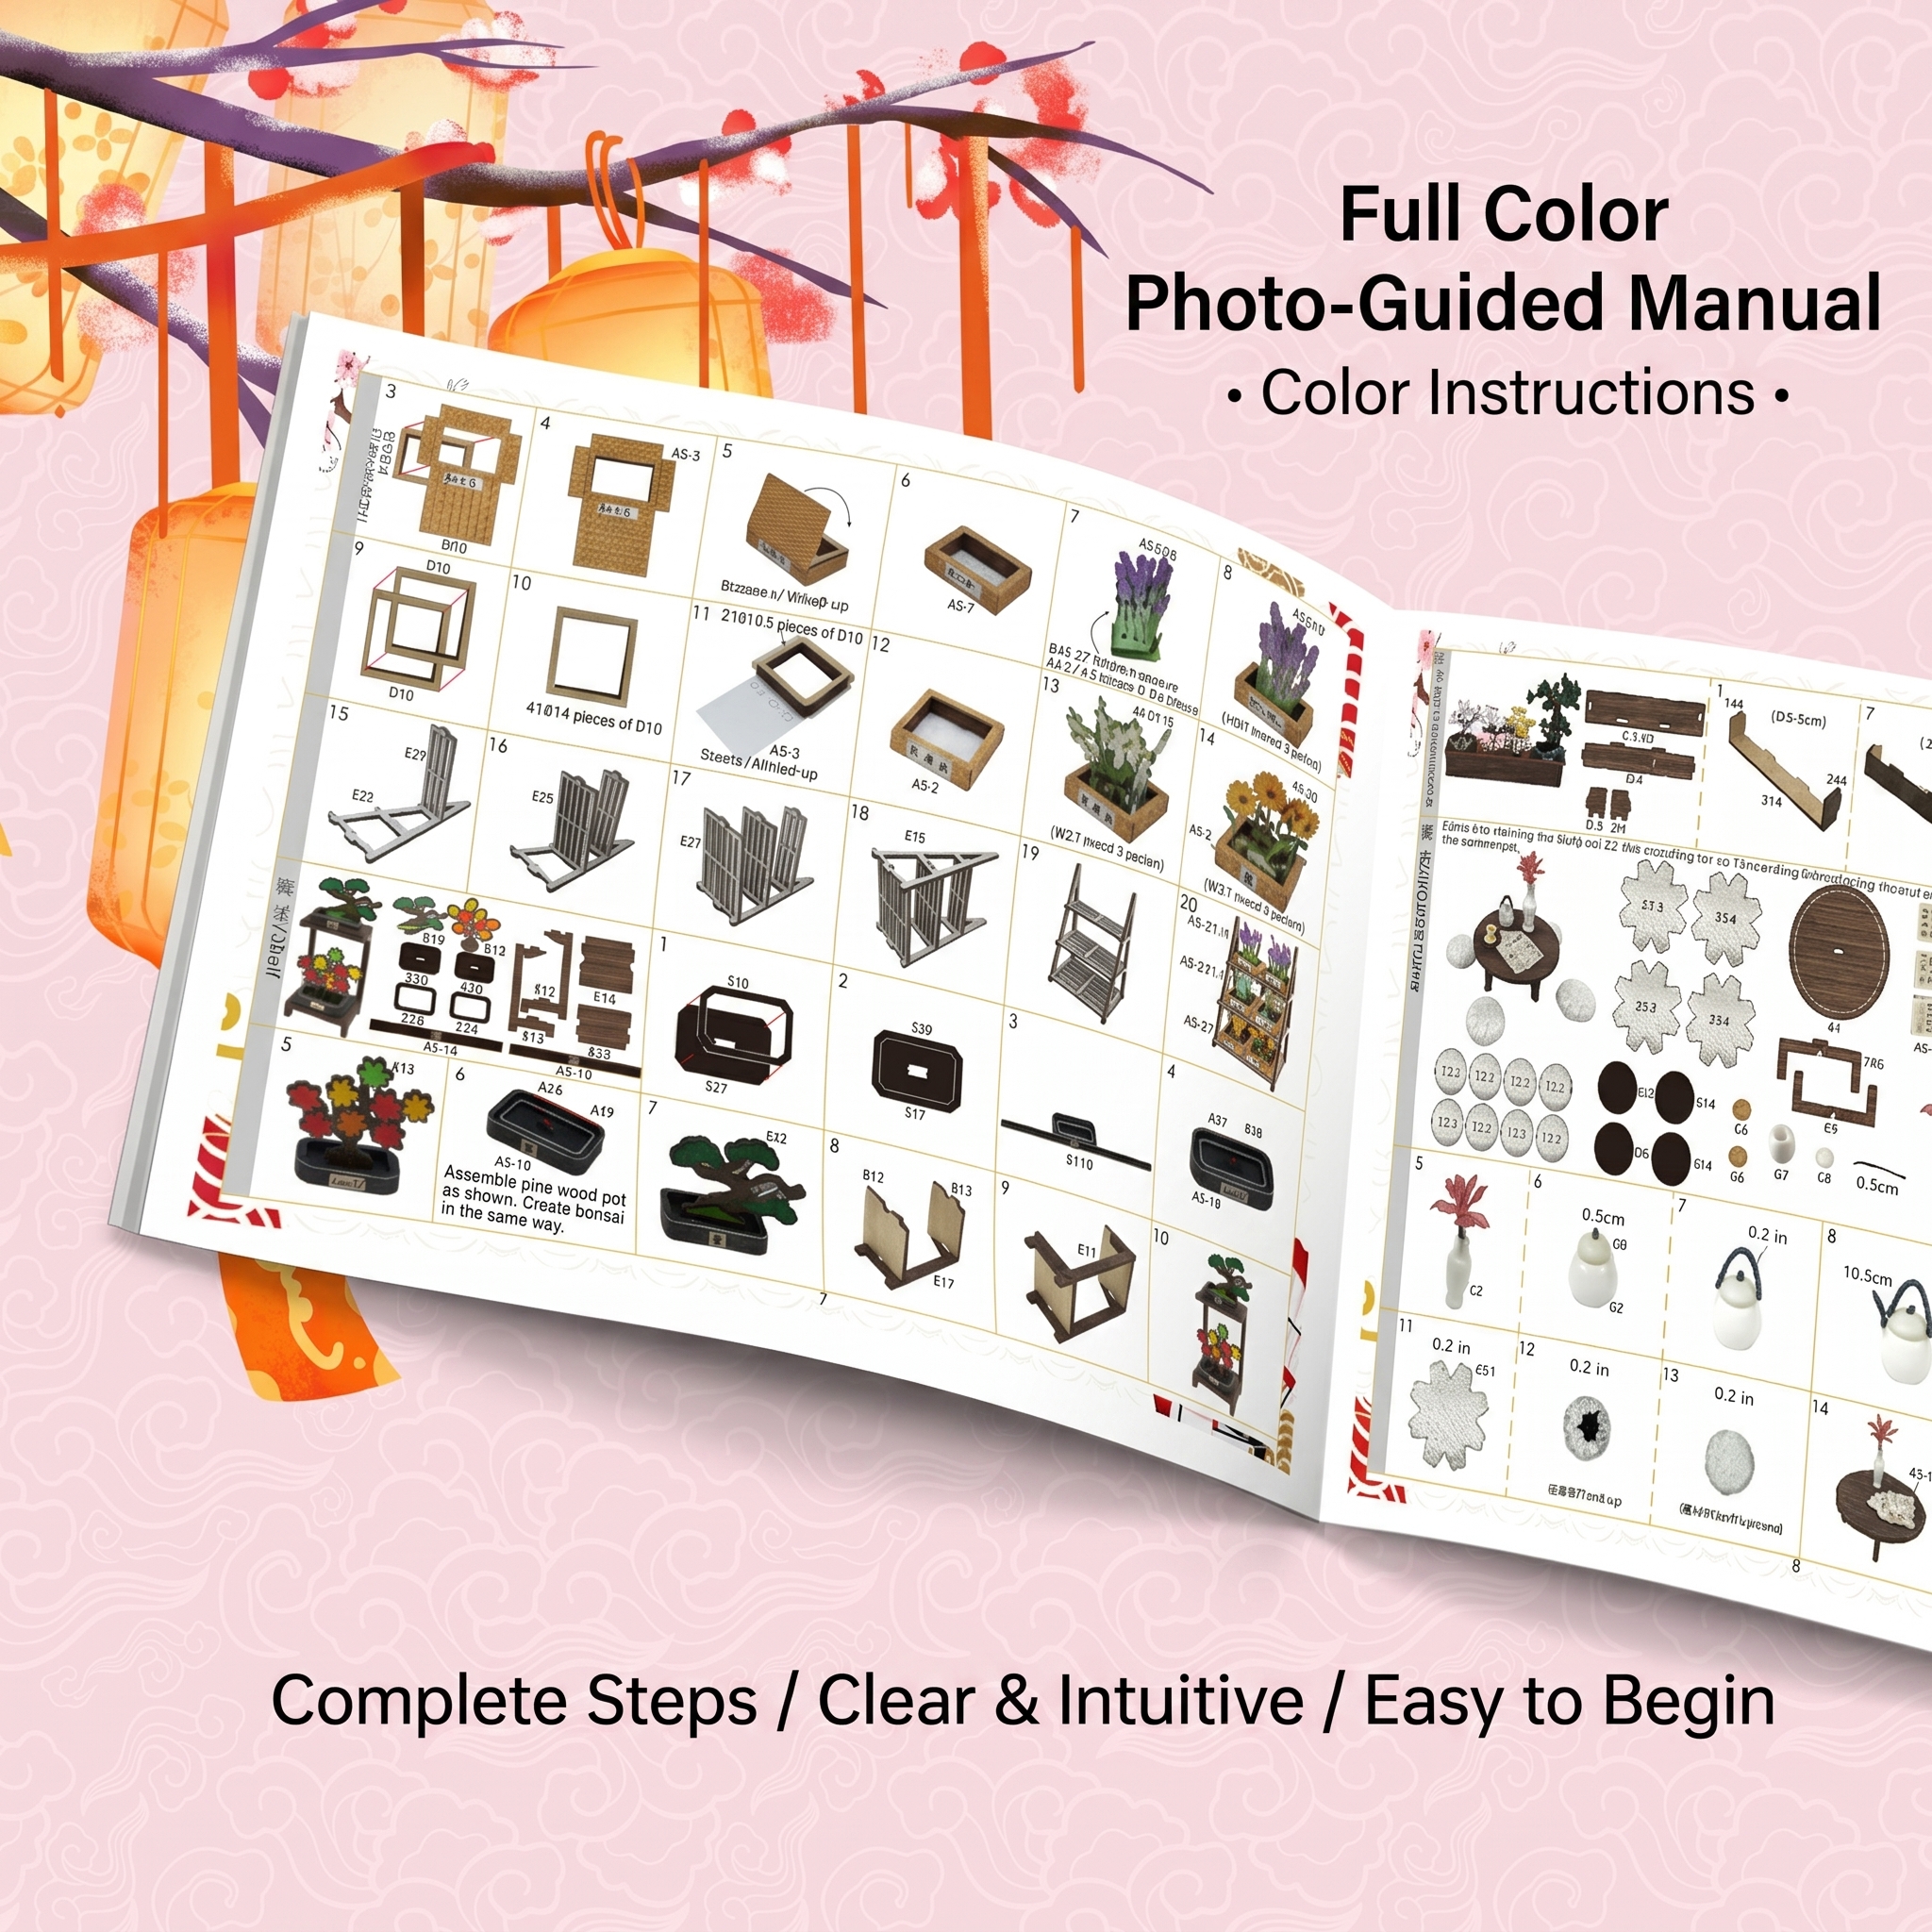
All kits include full-color English photo instructions, LED lighting, and ship from Seattle. Missing pieces are replaced at no charge.
Transparent Panel Greenhouse
Floral Greenhouse Book Nook | The Glass Conservatory — $34.99 8.6″ × 5.4″ × 9.1″ · Intermediate · 5–8 hrs · Shelf-insert format The only shelf-insert format in the botanical category. Clear PET panel walls with botanical interior — artificial flowers, fabric foliage, and layered plant detail arranged across multiple depth levels. The warm LED filters through the transparent panels, creating a quality of light that’s unique in the book nook lineup. The panel assembly requires removing protective film in sequence with the build steps — not at the start. This is noted in the instructions; worth reading ahead before opening the panel packaging. Best for: bookshelf display, readers who want a botanical scene between their books. View Floral Greenhouse Book Nook →
Botanical Flower Shop
Miniature Flower Shop Kit | The Alice Garden — $31.99 Intermediate · 5–8 hrs · Freestanding format A two-story flower shop with translucent greenhouse panels, botanical inventory detail on the shelves, and warm LED display-window light. The vertical format is distinctive — this scene reads tall rather than wide, which makes it useful in shelf gaps with more height than width. The faux botanical elements in this kit include small fabric flowers and fine wire-stem arrangements — the wire steps here are the most specific handling point in the build, and worth the extra time to get right before securing. Best for: desk display, narrow shelf gaps, gifting to plant or floral aesthetics lovers. View Miniature Flower Shop Kit →
Cat Cafe Miniature Kit | The Whispering Cat Garden — $31.99 305 pieces · Intermediate · 6–10 hrs · Freestanding format A greenhouse-format cat café with clear acrylic skylight panels, fabric-upholstered cat furniture, and warm floor-level LED. The botanical and cat aesthetic overlap here — this is the scene that works for people who want the greenhouse light quality in a scene that also has character and warmth from the animal detail. At 305 pieces, this is the most component-dense of the Intermediate botanical builds. Best for: desk display, cat owners, greenhouse-adjacent rooms. View Cat Cafe Miniature Kit →
Japanese Conservatory & Garden Diorama
Japanese Greenhouse Miniature Kit | The Sakura Conservatory — $34.99 8.3″ × 7.1″ × 7.9″ · Advanced · 9–15 hrs · Freestanding format · 478 pieces The most ambitious botanical build in the lineup. A Japanese conservatory with traditional tatami interior, stone path terrain, cherry blossom scatter, and warm LED filtering through a slanted clear roof. The 478-piece count and 9–15 hour build time make this a genuine multi-session project.
The copper wire steps in this kit — decorative lattice elements and plant support structures — are the technically precise moments in the build. Each one benefits from the two-view approach: confirm the bend against a front-view reference and a side-view reference before committing. The instruction manual provides both; use them. Best for: dedicated desk display, Japanese design collections, experienced builders. View Japanese Greenhouse Miniature Kit →
Browse all Floral & Nature Kits →
What to Know Before You Build (Botanical Kits Specifically)
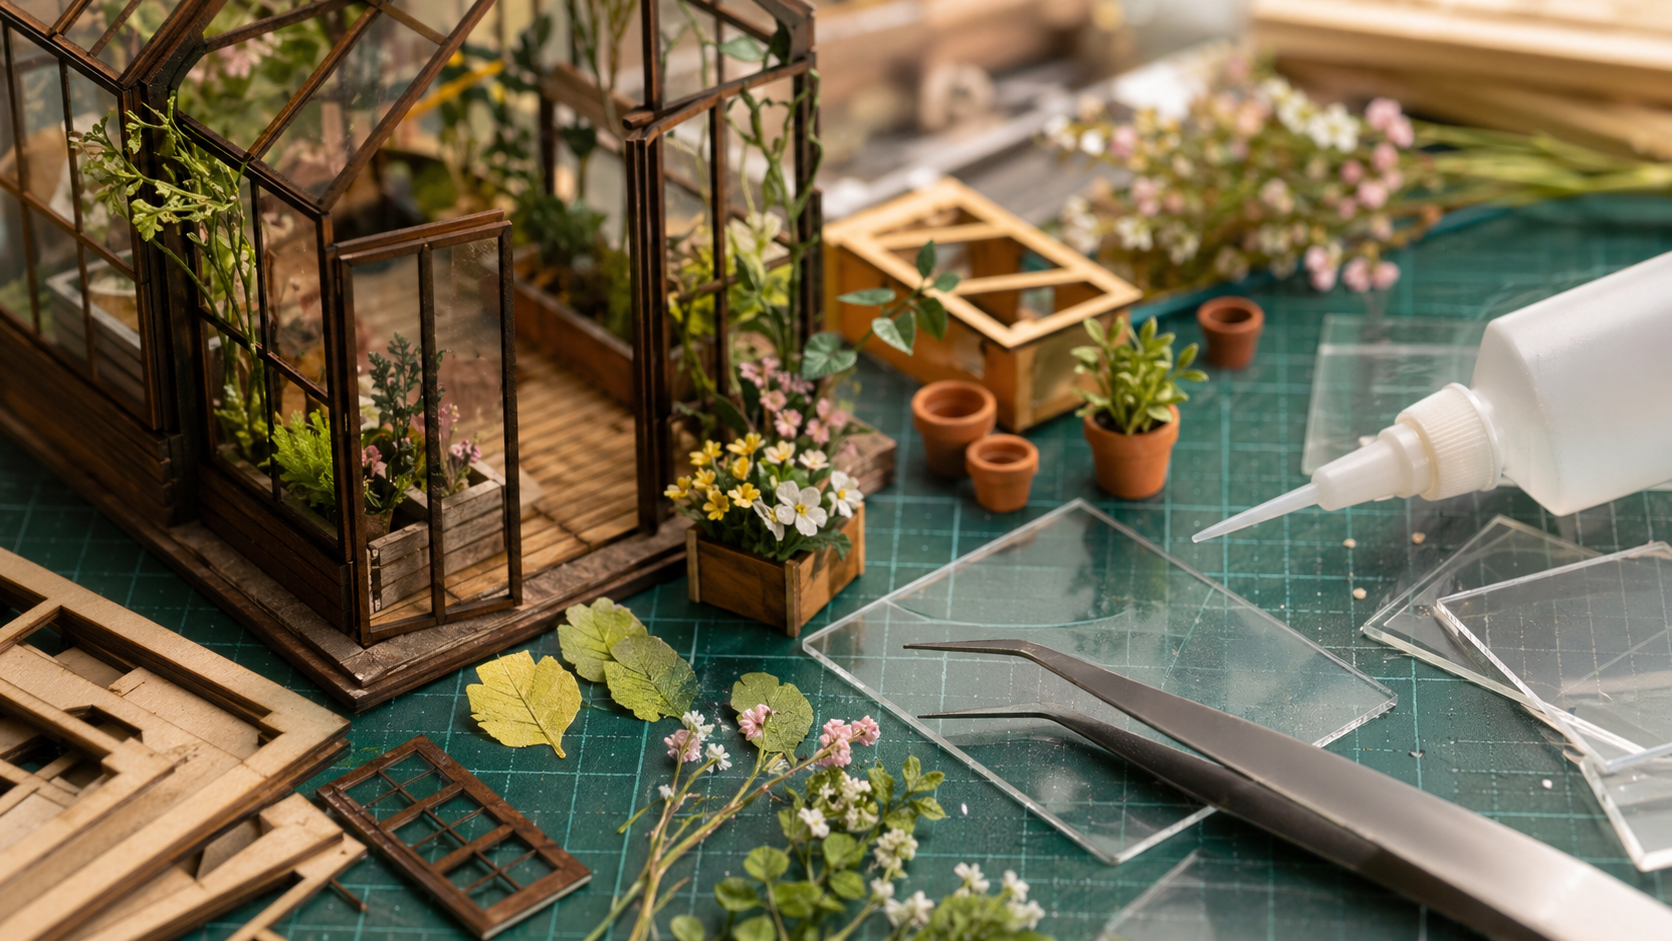
Botanical kits share a set of handling points that don’t come up in standard house or room kits. Worth knowing before you start:
- Transparent panels — film removal timing matters. Both the Floral Greenhouse Book Nook and the Sakura Conservatory include clear panels with protective film. Remove the film per the instruction sequence, not all at once at the start. Film removed too early picks up fingerprints and adhesive residue from neighboring steps.
- Scatter materials — handle last. Faux moss, cherry blossom scatter, and fabric foliage elements go in after the structural assembly is complete and adhesive has cured. These materials are difficult to reposition once placed and catch on wet glue. The instruction sequence keeps them to the end deliberately.
- Wire elements — bend once, confirm first. Copper and metal wire detail pieces should be bent against the instruction reference image before any attempt to attach. The wire gauge in most botanical kits (0.3–0.5mm) doesn’t tolerate re-bending at the same point — it fatigues and eventually breaks. Take the extra thirty seconds to confirm the angle against both the front and side instruction images before making the bend.
- LED placement — before the roof closes. The LED string in greenhouse-format kits typically runs through the interior before the roof panel is secured. Route and test the LED before any final enclosure step. Warm light filtering through the transparent roof is what makes the finished display work.
- Glue type for botanical scatter. Fabric flowers and faux foliage: use a slow-setting PVA, not super glue. Super glue sets before you can adjust the position and will fog the surrounding transparent panels. PVA gives you 15–20 seconds of working time and stays clear when dry.
How Long Does a Miniature Greenhouse Kit Take?
The honest answer varies significantly by format:
- Intermediate builds (Floral Greenhouse Book Nook, Miniature Flower Shop, Cat Cafe): approximately 5–8 hours of active hands-on time. Best split across two sessions — structural assembly and panel work in the first session, botanical detail and LED finishing in the second.
- Advanced builds (Japanese Greenhouse / Sakura Conservatory, 478 pieces): approximately 9–15 hours. Three sessions is the recommended pacing: base structure and terrain in session one, roof and panel assembly in session two, botanical detailing and finishing in session three. The wait time between sessions isn’t wasted — it lets the base-layer adhesive cure fully before the terrain scatter is added on top.
One honest note on the “approximately” qualifier: build time varies with the builder. Someone who treats the wire steps carefully, reads ahead in the instruction sequence, and takes breaks rather than rushing past a complex step will finish closer to the lower end of the range.
Frequently Asked Questions (FAQs)
Are miniature greenhouse kits hard to build for beginners? While botanical kits require handling varied materials like transparent PET panels and thin copper wire, they are accessible to first-time builders who follow the pacing. We recommend starting with an Intermediate flower shop format (like the Alice Garden) rather than a 400+ piece Advanced diorama, allowing you to get comfortable with wire bending and scatter materials.
What is the best glue for transparent panels in miniature kits? Never use super glue (cyanoacrylate) on or near clear PET or acrylic greenhouse panels. The fumes from fast-drying adhesives will permanently fog the clear plastic. Instead, use a clear, slow-setting PVA craft glue. It provides 15 to 20 seconds of adjustment time and dries completely transparent.
Do miniature greenhouse kits come with real plants? No. A miniature garden scene kit includes artificial botanical elements—such as printed paper leaves, fabric flowers, resin stems, and faux moss. They are designed to recreate the visual aesthetic of a conservatory but do not function as actual terrariums or growing spaces for live seedlings.
Can you paint the wood in a miniature greenhouse kit? Yes. The laser-cut basswood pieces can be painted using acrylic paints or detailed with fine-tip markers. If you plan to customize the colors of your greenhouse framing or planters, paint the components while they are still on the board or immediately after punching them out, before any gluing begins.
Ready to Start?
The full botanical and greenhouse collection — flower shop, transparent greenhouse book nook, cat café, and Japanese conservatory — is in the Floral & Nature category.
Browse all Floral & Nature Kits →
Not sure if a greenhouse kit or a standard miniature house is the right direction? The complete miniature house kit collection covers all scene types side by side. For book nook formats specifically, the Book Nook Kits category includes the Floral Greenhouse Book Nook alongside the full shelf-insert lineup.
About this article Written by Ellie Nakamura, Founder of Nookcraft. Content is based on hands-on kit builds, instruction manual design experience, and build questions collected from our customers. Where conclusions are based on personal observation rather than third-party testing, this is noted in the text. Last reviewed: April 2026