Miniature Diorama Kits — Scene Building for Adults
What a diy miniature diorama kit is, how it differs from a standard miniature building kit, what you need to build one, and which miniature model kits to start with if you’re ready for a more complex miniature scene kit.
What Is a Miniature Diorama Kit?
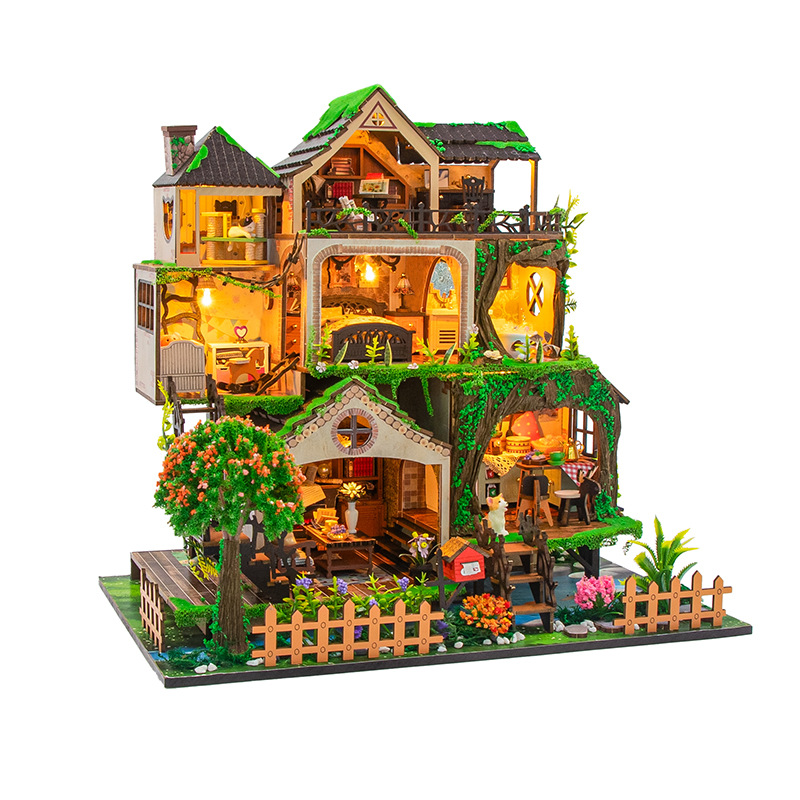
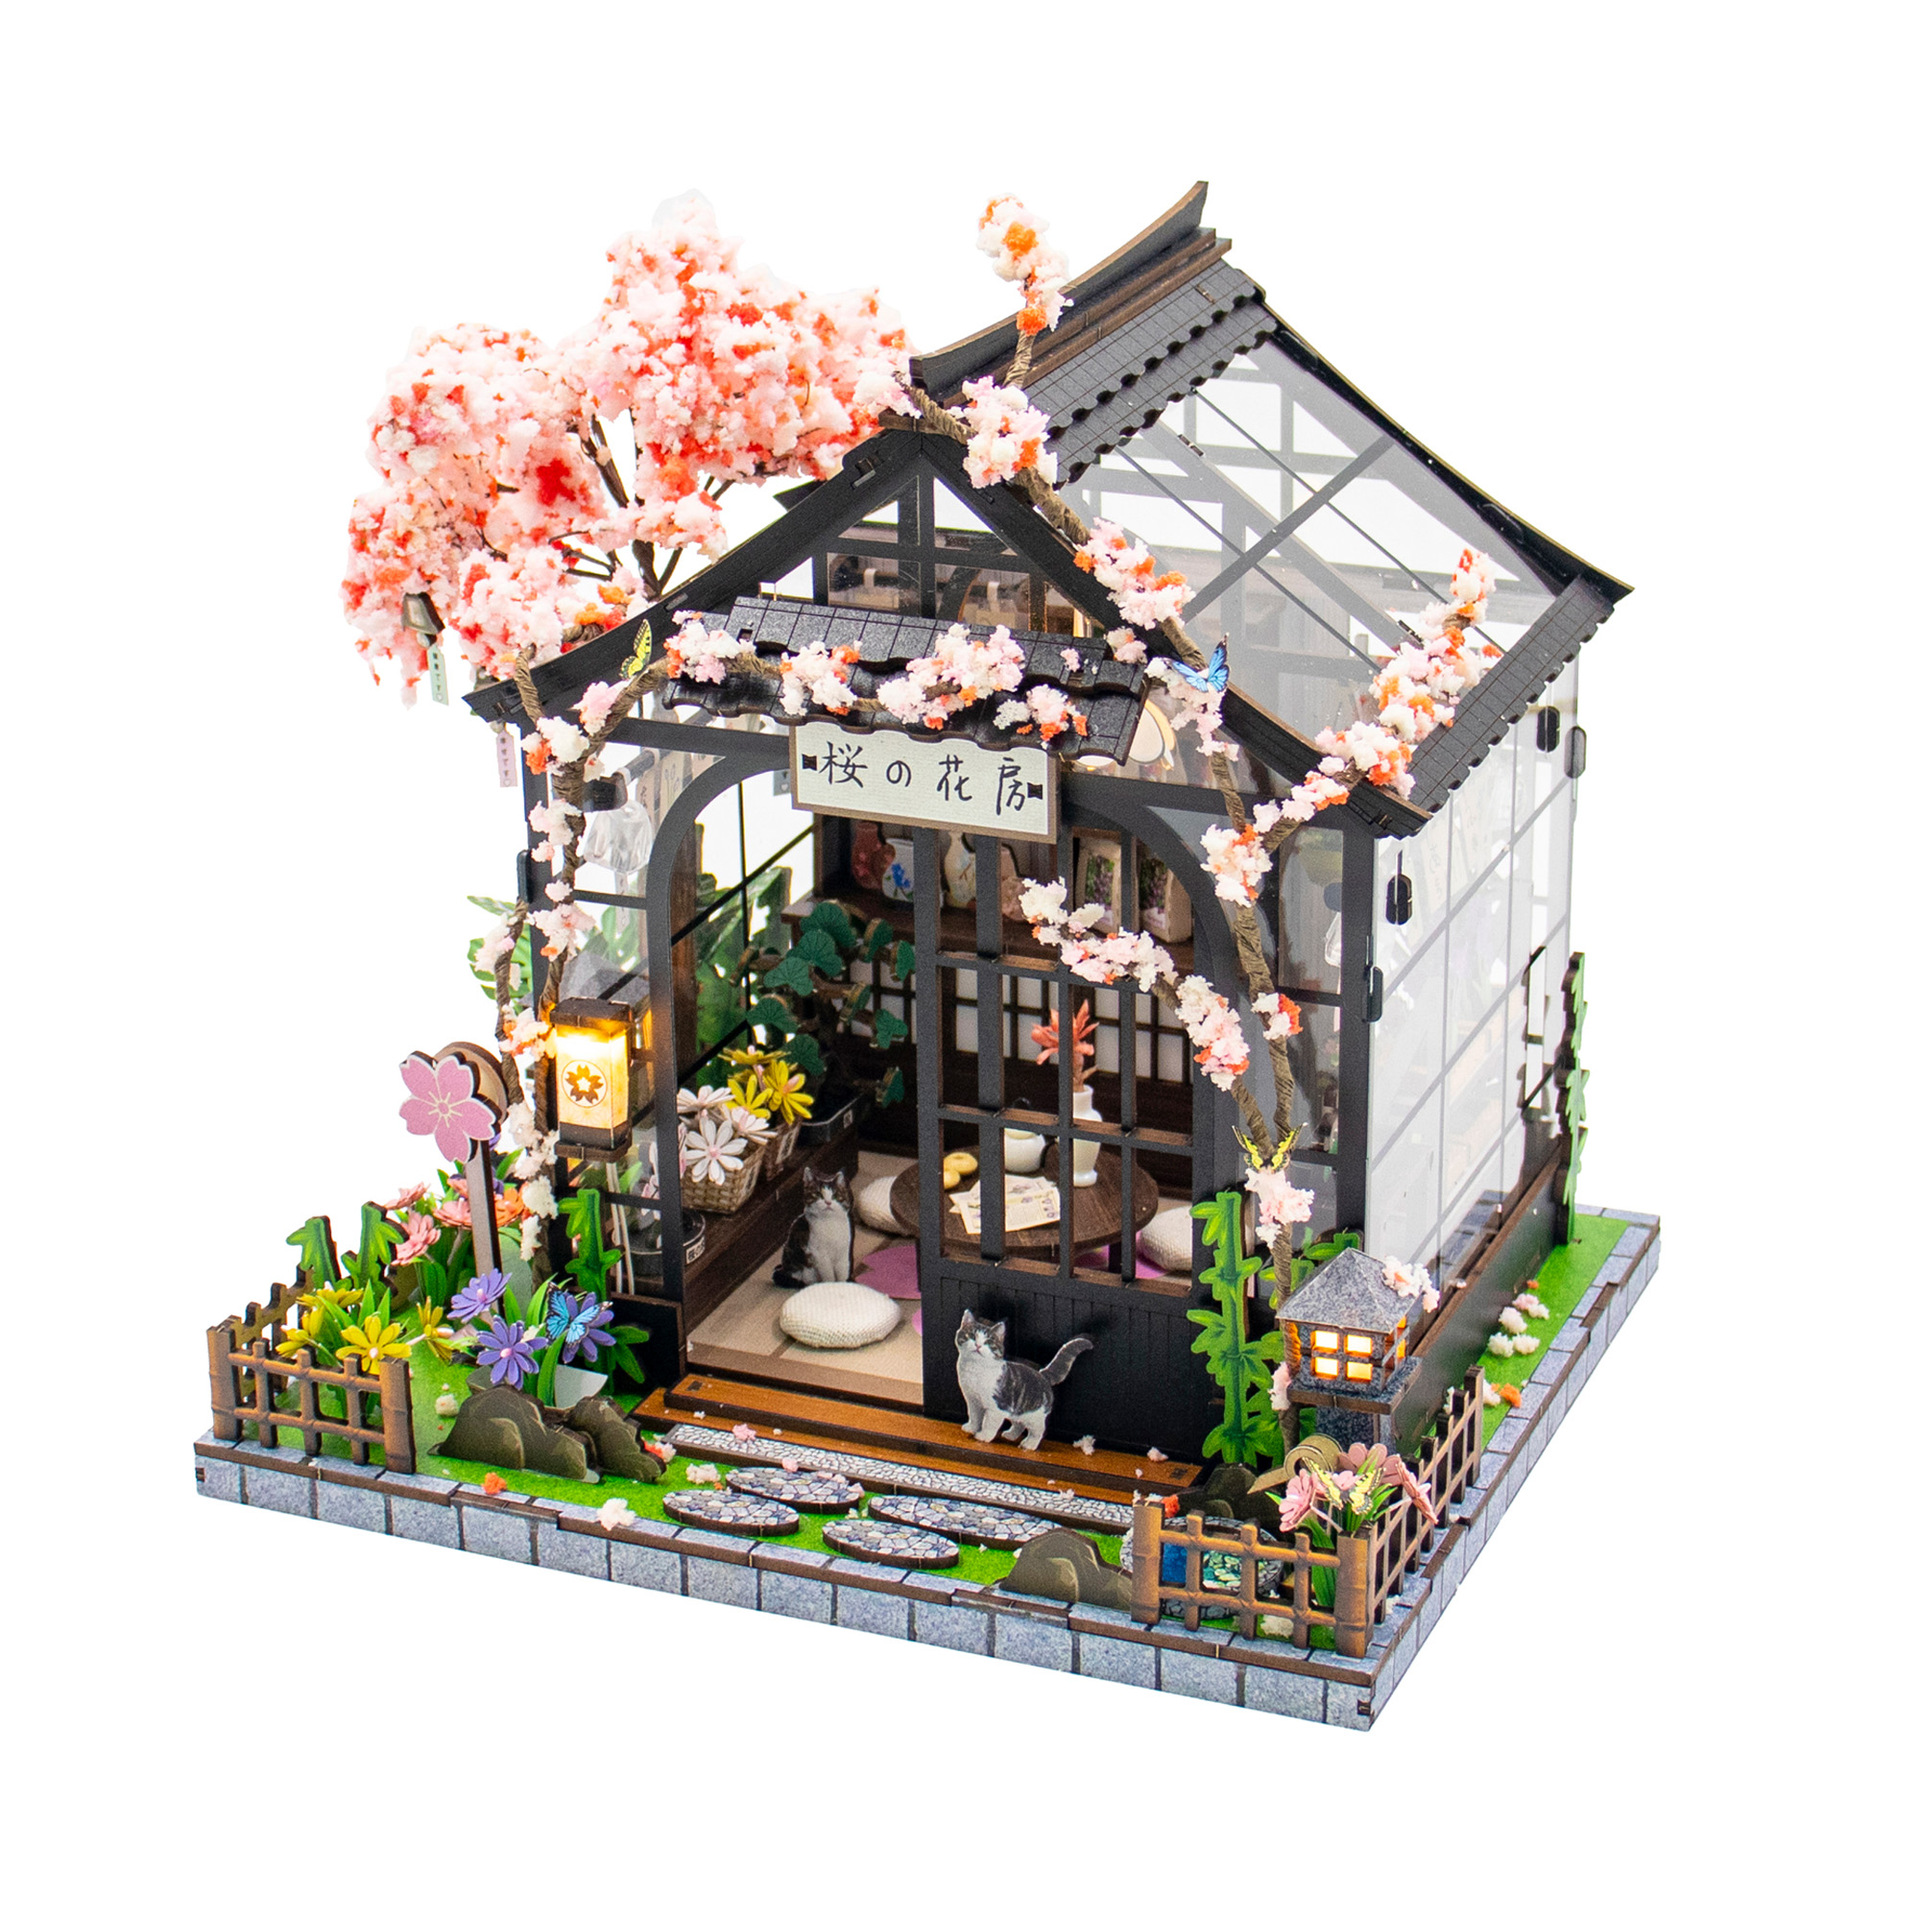
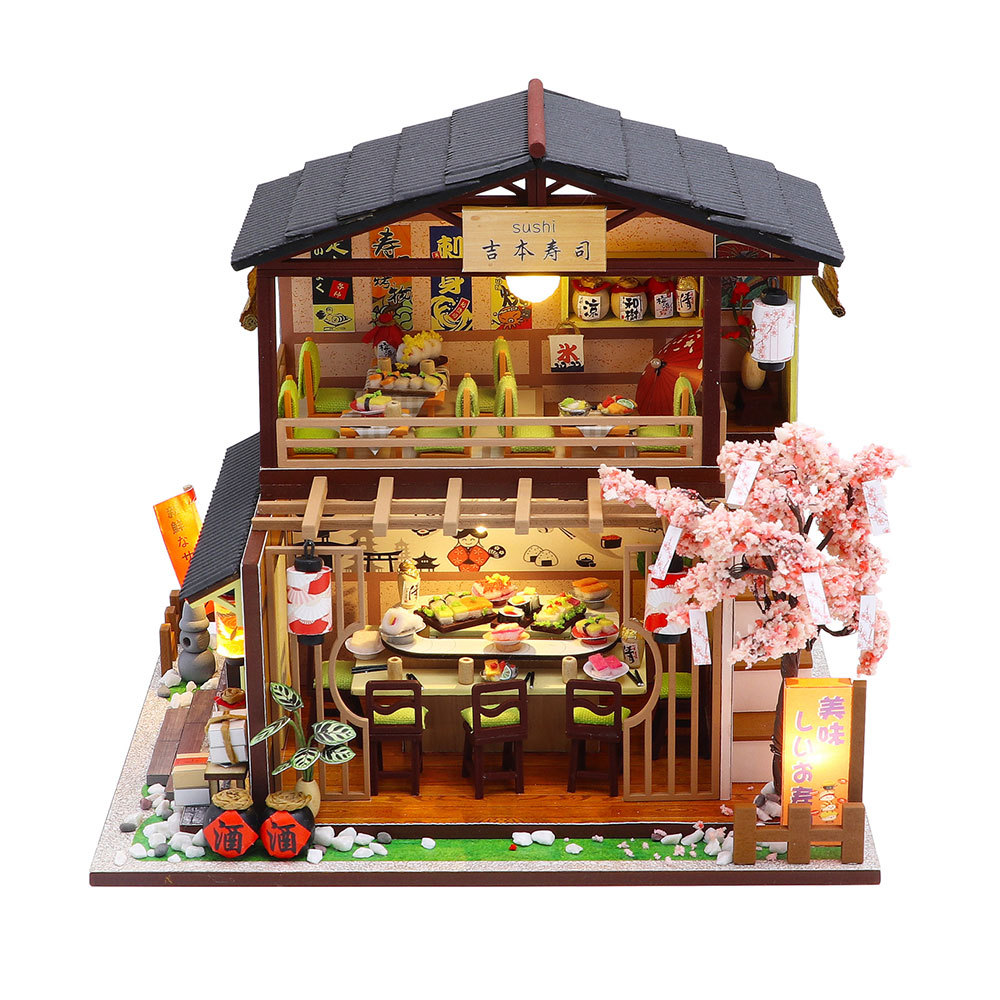
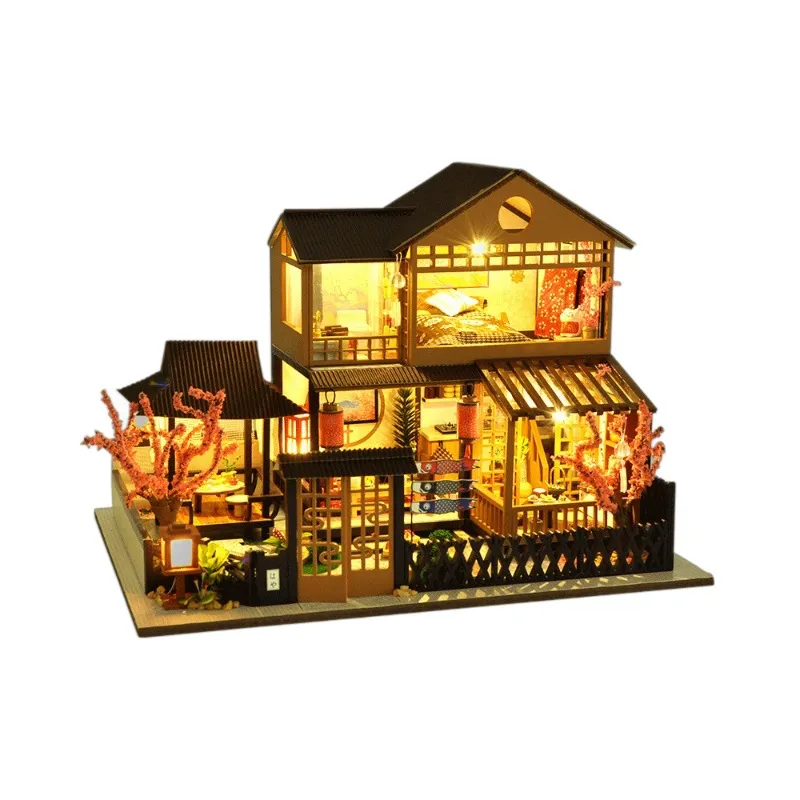
A miniature diorama kit is a scene-building kit that creates a three-dimensional tableau — a landscape, architectural environment, or narrative scene — rather than a single building or room.
Where a standard miniature building kits for adults asks you to build a specific object (a café, a greenhouse, a library), a diorama asks you to build a specific place. The distinction matters in practice: dioramas have wider frames, terrain elements, multiple structures, and more spatial decisions to make during assembly. They are designed to be viewed from one angle, like a stage set, and every element in the kit serves the composition of that view.
If a house kit is building a piece of furniture for your shelf, a diorama is building a world you can look into.
Diorama vs. House Kit: What’s Different
| Feature | Miniature House Kit | Diorama Kit |
|---|---|---|
| Subject | A building or room | A scene, landscape, or environment |
| Viewing angle | All-around, or from multiple sides | Single designed viewing angle |
| Composition decisions | Mostly prescribed — follow instructions | More builder discretion in placement |
| Terrain elements | Rare | Common — paths, ground texture, water |
| Typical size | 6–12 inches | 10–18 inches |
| Skill level | Beginner through Advanced | Intermediate through Advanced |
| LED effect | Interior warm glow | More dramatic — scene lighting and shadow depth |
| Display | Bookshelf, desk, display case | Display table, dedicated shelf, display case |
If this is your first kit, start with a standard house kit. See the beginner guide →
How to Build a Diorama Kit
The build sequence in a diy miniature diorama kit matters more than in a house kit. These steps apply to most scene kits — follow the kit’s specific instructions for exact sequencing.
Study the scene layout first
Before touching any piece, look at the completed scene image and sketch where you want the viewer’s eye to land. This affects lighting position decisions later.
Build base structure and backdrop
Platform, backdrop panel, and any architectural framing first. These are the hardest decisions to reverse — get the structure solid before adding detail.
Layer terrain from back to front
Ground cover, path material, and surface textures build depth. Apply background elements before foreground. The layering creates the visual distance that makes dioramas feel larger than they are.
Position focal elements and check sightlines
Before gluing any centerpiece element, hold it in position and look at the scene from the intended viewing angle. Small position adjustments matter at scale.
Add lighting — position matters more here
LED placement in a diorama creates more dramatic shadow effects than in a closed room. Side-lighting through architectural gaps creates scene depth that overhead-only lighting doesn’t. Test before gluing.
Customization Tips for Experienced Builders
The kit as-shipped is a complete scene. These modifications go beyond the instructions — they’re options, not requirements.
Weathering with paint
Dry-brushing light grey on wood edges adds age. Thin washes of brown on stone elements add depth. Use water-based craft paint — it’s more forgiving than oil-based on wood.
Adding natural materials
Fine sand, dried moss, and small pebbles from a craft store can supplement or replace kit terrain elements. Scale reference: 1mm model scale ≈ 1.2 cm at 1:12 ratio.
Adding a second LED point
Many diorama builders add a second LED strip in a different position — warm at the back, cooler at the front — to create more dimensional lighting. Use a splitter if the kit has one battery box.
Recommended Diorama & Scene Kits
All include full-color English photo instructions. Glue and batteries sold separately.