







Most guides about diorama building start with a shoebox and a set of craft store supplies. This one starts with a kit — because that’s a different problem with different constraints, and the advice for one rarely transfers cleanly to the other.
A diy miniature diorama kit gives you a pre-engineered scene with laser-cut structural components, LED wiring, and all scatter and terrain materials included. The challenge isn’t sourcing materials or figuring out a theme. The challenge is understanding what makes the diorama format structurally different from a standard miniature house kit, and what the build actually requires as a result. That’s what this guide covers.
What a Diorama Kit Is (And How It Differs from a Standard Miniature House Kit)
The practical difference comes down to one thing: viewing angle.
A standard miniature house kit builds a scene that can be walked around — four walls, a roof, interior furnishings. The design tolerates being seen from multiple angles. A diorama is designed to be seen from one composed angle, like a theatrical stage. Every element — the foreground terrain, the mid-ground architecture, the background depth — is positioned specifically to serve that single view.
This matters because it changes how you build. In a standard kit, a slightly misaligned wall usually corrects itself as the structure goes up. In a diorama, a foreground element placed 2mm too far left disrupts the compositional balance of the entire scene when viewed from the intended angle. The instruction sequence in a miniature scene kit is more precisely ordered as a result — steps that look cosmetic often set up the spatial relationships for the steps that follow.
The other distinction is terrain. Standard house kits build vertically — floor, walls, furniture, roof. Diorama kits build horizontally first: the ground plane, surface texture, and terrain features form before any architectural structure goes on top. This reversed sequence catches builders off guard if they approach a diorama kit the same way they’d approach a house kit.
Browse all Diorama Scene Kits →

Diorama kits in this lineup divide into four structural formats, each with its own build logic.
- Terrain-primary dioramas — The ground plane is the main event. Moss, stone paths, scatter materials, water effects, or organic ground cover define the scene, and the architecture sits on top of the terrain rather than being the terrain’s reason for existing.
- Architecture-primary dioramas — The structural build is the subject. Courtyard proportions, roofline layering, and architectural detail are where the complexity lives. The ground plane supports the building rather than competing with it.
- Concept-primary dioramas — The scene represents something that doesn’t exist in the real world. The structural logic has to be invented for the concept, which makes the instruction sequence more specifically prescriptive — there’s no real-world reference to fall back on when something looks off.
- Hybrid format — Architectural structure combined with significant terrain and atmospheric elements. Gothic architecture with carved stone detail, organic surface elements, or fantasy terrain integrated into the building’s base.
Knowing which format you’re working with before you start tells you where to put your patience: on the ground plane, the structure, the concept, or the interface between all three.
What Diorama Builds Require That Standard Kits Don’t
Three things distinguish miniature diorama kit assembly from standard miniature house assembly — and all three are underexplained in most instruction manuals.
1. Terrain and scatter materials — sequence and adhesive type
Standard kits use wood-to-wood and paper-to-wood joins throughout. Diorama kits introduce a third category: scatter materials — artificial moss, cherry blossom petal scatter, fine-grain stone texture, bark elements. These materials have different adhesive requirements and different sequence constraints.
The rule that applies across all scatter materials: they go in last, after all structural adhesive has fully cured. Scatter placed on a surface that’s still tacky from a previous step will bond permanently in the wrong position before you’ve confirmed the composition reads correctly from the intended viewing angle. Give structural joins 15–20 minutes before placing anything loose on or around them.
Adhesive for scatter: Use slow-setting PVA, not super glue. Super glue sets in seconds — the working time is too short to reposition scatter elements for compositional adjustment. PVA gives you 10–15 seconds of repositioning time and stays flexible when dry, which matters for moss and fabric elements that need to drape or conform to an uneven surface.
2. LED placement — layered shadow design
In a standard house kit, the LED is typically placed inside a room, creating ambient illumination. In a diorama kit, LED placement is compositional — the direction the light comes from, and where it’s blocked by terrain or architectural elements, creates the shadow layering that gives the scene its sense of depth.
The practical constraint: the LED must be routed and tested before any element that will block or direct it is permanently installed. This usually means testing the LED while the scene is in a partially assembled state — after the main terrain base is in but before the mid-ground architectural elements are secured.
Two tests worth running at this stage: look at the scene from the intended viewing angle with the LED on and all ambient room lights off. Then look again with the ambient lights on. The scene should read clearly in both conditions, but the LED condition is the one it was designed for. If significant shadow areas or flat-lit zones appear at this stage, the LED position can still be adjusted. After the scene is fully assembled, it cannot.
All kits include full-color English photo instructions, LED lighting, and missing-piece replacement. Ships from Seattle.
Intermediate Builds · 5–10 hours
Japanese Sushi Shop Miniature | The Yoshimoto Dining — $27.99 Intermediate · 5–8 hrs · Counter-scene diorama format A composed sushi counter scene — the most compact and contained build in the diorama category. The counter layout creates a strong single-axis viewing angle, and the resin food elements are highly detail-specific components. A strong entry point to the diorama format. View Japanese Sushi Shop Miniature →
Japanese Greenhouse Miniature Kit | The Sakura Conservatory — $34.99 Advanced · 9–15 hrs · 478 pieces · Terrain-primary format A terrain-led build: stone path ground plane, cherry blossom scatter, tatami interior, and a slanted clear roof through which the warm LED filters. The 478 pieces and terrain-first sequence make this a deeply involved build. View Japanese Greenhouse Miniature Kit →
Gothic Castle Cafe Miniature | The Hollow Magic Shop — $53.99 Intermediate–Advanced · 8–12 hrs · Hybrid format A gothic stone castle converted into an inhabited magic shop. Stone arch framing, gothic window detail, and interior shop elements coexist. The LED in this kit creates the most dramatic shadow effects in the lineup because the gothic arches block and direct the light. View Gothic Castle Cafe Miniature →
Advanced Builds · 10+ hours
Japanese Villa Miniature Kit | The Sakura Courtyard — $49.99 Advanced · 10+ hrs · Architecture-primary format A full Japanese villa with courtyard and garden elements. The courtyard provides the spatial depth that enclosed-room builds cannot achieve: foreground garden, mid-ground villa entrance, background structure layering. View Japanese Villa Miniature Kit →
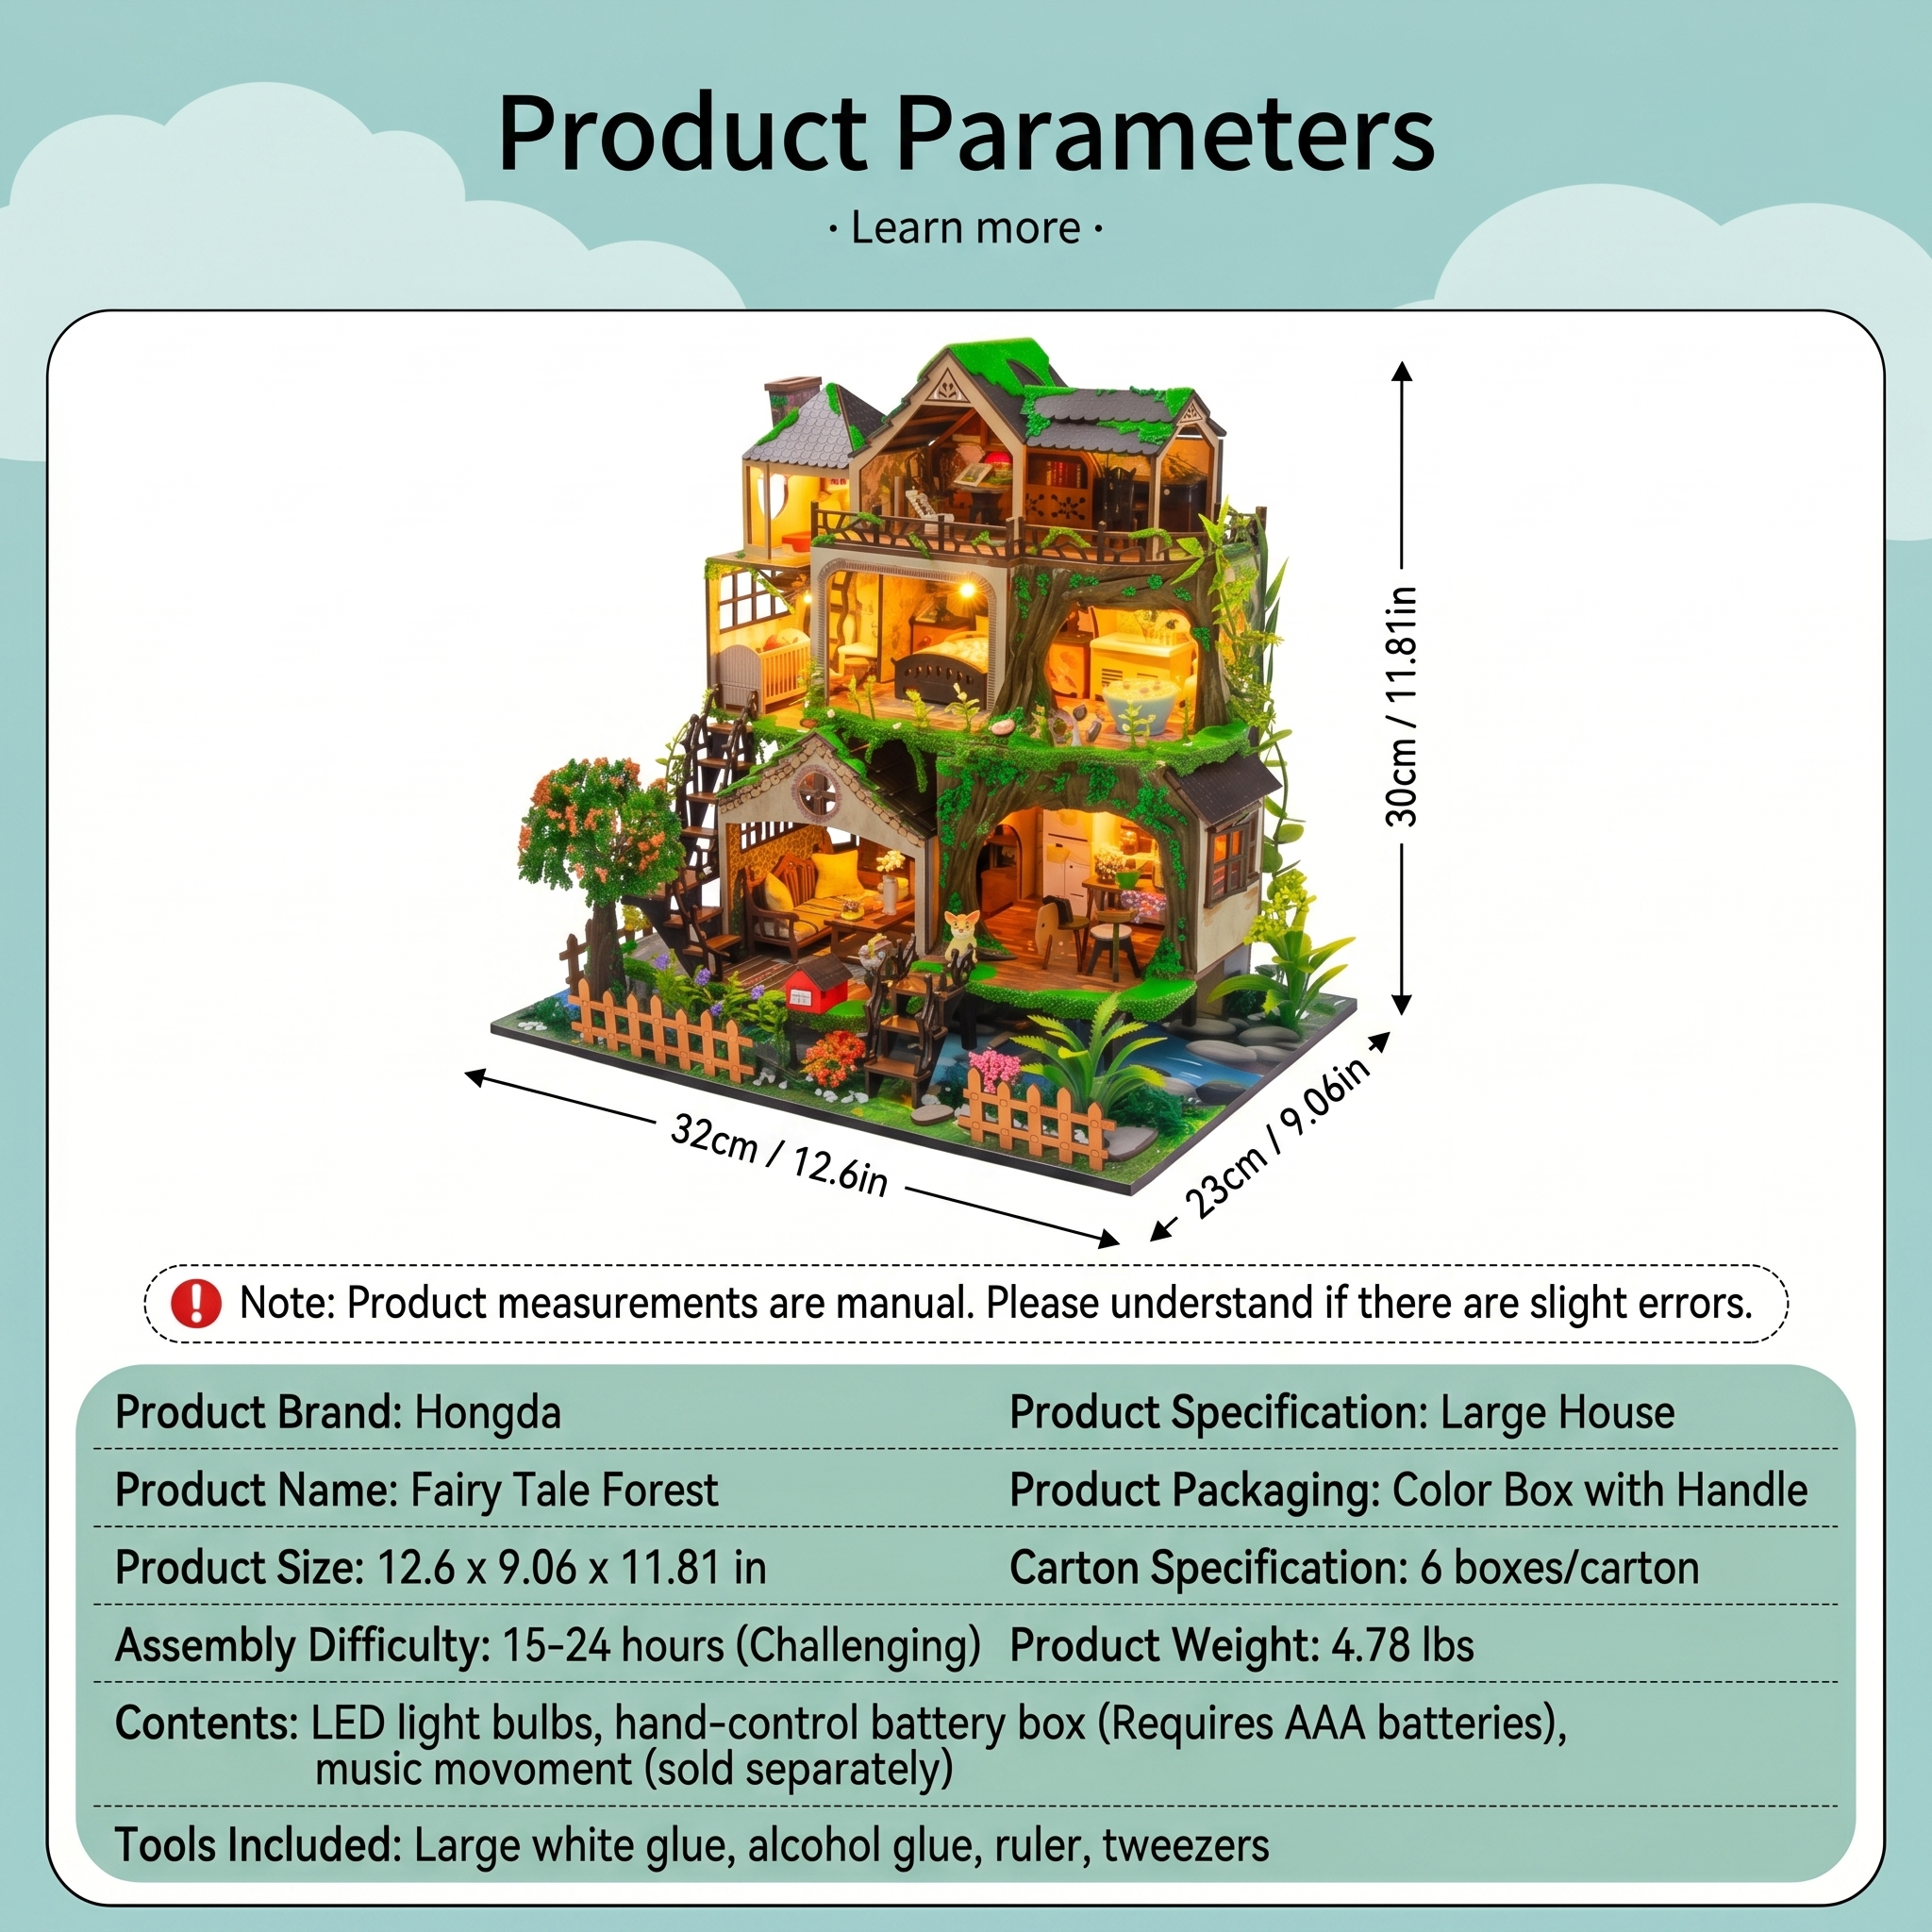
Treehouse Diorama Kit | The Sylvan Manor — $64.99 Advanced · 10–15 hrs · Terrain-primary format The most material-varied miniature building kit in the entire lineup. Ground surface includes artificial moss, simulated stream elements, and bark-texture organic components. The simulated water surface goes in after the surrounding terrain has fully cured, so it sits on top of settled ground. View Treehouse Diorama Kit →
Modern Villa Miniature Kit | The Sunshine Forest Villa — $71.99 Advanced · 10+ hrs · Architecture-primary, contemporary A three-story contemporary villa with floor-to-ceiling acrylic window panels and exterior swimming pool detail. The LED reflects off the pool surface and transmits through the window panels in a way that only reads correctly when the panels are installed plumb. View Modern Villa Miniature Kit →
Classical Chinese Mansion Kit | The Celestial Estate — $71.99 Advanced · 12+ hrs · Architecture-primary format The most historically specific architectural reference in the lineup, and the largest build. Roofline assembly is the technically demanding phase — each bracket-tier needs to be level before the next tier goes on, because cumulative error compounds across the full structure. View Classical Chinese Mansion Kit →
Floating Island Miniature Kit | The Celestial Pavilion — $75.99 Advanced · 10–15 hrs · Concept-primary format A pavilion on a floating island. The cloud-base terrain and the elevated structure create a scene that reads from a distance unlike anything else. The LED creates an ambient sky-light quality because the light source is below and around the structure rather than inside it. View Floating Island Miniature Kit →
Browse all Diorama Scene Kits →
How to Approach the Build — Session Planning for Complex Kits
The single most common source of frustration with advanced miniature model kits is trying to complete them in one extended session. The build time on these kits is honest — it’s hours of active work. But the quality of the work degrades in the later hours of any single session, and diorama builds specifically have phases where compositional judgment matters more than mechanical execution.
The three-session framework works across the Advanced builds in this category:
- Session 1: Ground plane and base terrain. Get the foundation right and fully cured before anything goes on top of it. This session ends when the base is stable, the LED wiring route is planned, and scatter materials are laid out but not placed.
- Session 2: Primary architectural structure. The major vertical elements go in: walls, roofing, structural framing. The LED is tested in position at the end of this session — before any element that would block access to adjust it is installed.
- Session 3: Detail, scatter, and finishing. Furniture, accessories, botanical scatter, and any final surface texture. The single-angle composition check runs continuously through this session.
One additional note: between Session 1 and Session 2, give the ground plane a full overnight cure — not just an hour. Terrain scatter materials that seem stable after 30 minutes will sometimes shift if weight is added before the adhesive has fully hardened. The overnight wait costs nothing and prevents the frustration of a carefully placed moss section shifting when the first wall piece is set down on top of it.
Frequently Asked Questions (FAQs)
What is a DIY miniature diorama kit? A DIY miniature diorama kit is a complete craft set containing pre-cut basswood pieces, LED lighting, and terrain materials used to build a highly detailed 3D scene. Unlike a dollhouse that can be viewed from any side, a diorama is designed with forced perspective to be viewed from a single, fixed angle.
What kind of glue should I use for a miniature scene kit? For structural wooden joints, a clear, fast-setting craft glue is best. However, for diorama terrain and scatter materials like faux moss or cherry blossom petals, you must use a slow-setting PVA glue. PVA allows for 10 to 15 seconds of working time so you can adjust your terrain composition before it permanently cures.
How long does it take to build a miniature diorama kit? An intermediate diorama kit takes roughly 5 to 8 hours of hands-on work. Advanced architectural or terrain-heavy dioramas involving 400+ pieces can take anywhere from 10 to 15 hours. We recommend splitting advanced builds across three separate sessions to ensure structural adhesive cures properly.
Do miniature building kits for adults require painting? No painting is required. Nookcraft diorama kits utilize laser-cut basswood pieces that are already pre-colored or supplied with high-precision printed paper overlays. While you are free to customize the pieces with acrylic paints, the kit contains everything needed to replicate the scene on the box.
Ready to Build?
The full diorama lineup — terrain-primary, architecture-primary, concept-primary, and hybrid formats — is in the Diorama Scene Kits category, from $27.99 to $75.99.
If you’re deciding between a diorama kit and a standard miniature house kit, the complete miniature house collection has both formats side by side — the product pages for the diorama category kits note the terrain and complexity level clearly, so you can compare before committing.
About this article Written by Ellie Nakamura, Founder of Nookcraft. Content is based on hands-on kit builds, instruction manual design experience, and build questions collected from our customers. Where conclusions are based on personal observation rather than third-party testing, this is noted in the text. Last reviewed: April 2026